
Table of contents :
Index:
- 1. Visual Studio Code, VSCode, introduction.
- 2. VSCode, install and screen explanation.
- 3. VSCode, Settings.
- 4. VSCode, Settings.json file.
- 5. VSCode, plugins.
- 6. VSCode, plugin: Live Server.
- 7. VSCode, Workspaces.
- 8. VSCode, Project and Project plugins.
- 9. VSCode, Live Sass Compiler.
- 10. VSCode, Live Sass Compiler and Bootstrap.
- 11. VSCode, Watching. To be written.
- 12. VSCode, Other plugins.
- 13. VSCode, Tips for Visual Studio Code.
- 14. VSCode, Usefull Links.
7. VSCode, Workspaces.
Before explaining more about Workspaces or Projects in VSCode, it is important you have first set op a working environment for your files, as I describe in:
Writing Webpages / Setting up a Test Environment.
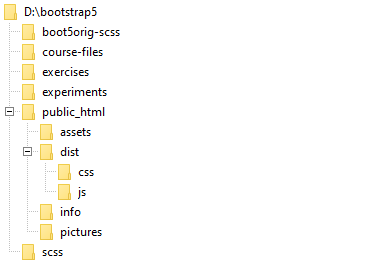
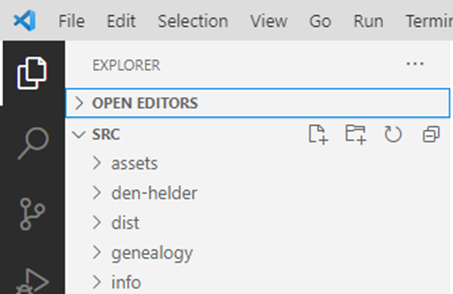
As a result you might have the following directories:
7.1. VSCode, What is a VSCode Workspace?
From VSCode docs:A Visual Studio Code "workspace" is the collection of one or more folders that are opened in a VS Code window (instance). In most cases, you will have a single folder opened as the workspace but, depending on your development workflow, you can include more than one folder, using an advanced configuration called Multi-root workspaces.
7.2. VSCode, Creating a new VSCode Workspace.
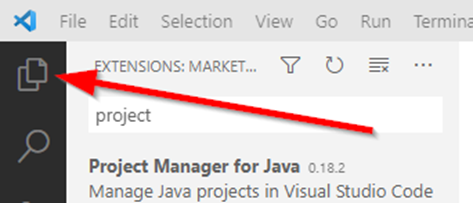
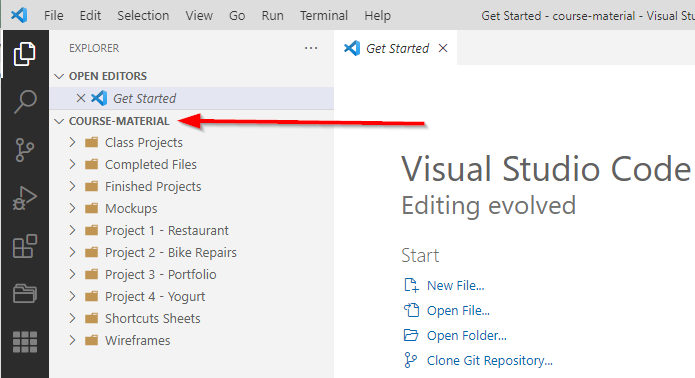
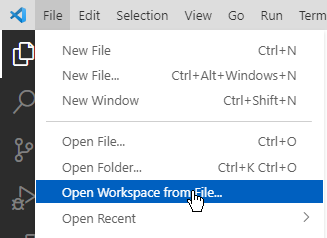
When you look at the directory screenshot above, you can see it has a course-files directory. We will create a workspace for that directory. We do that by opening a folder entry from the file menu.So first we choose for Editor
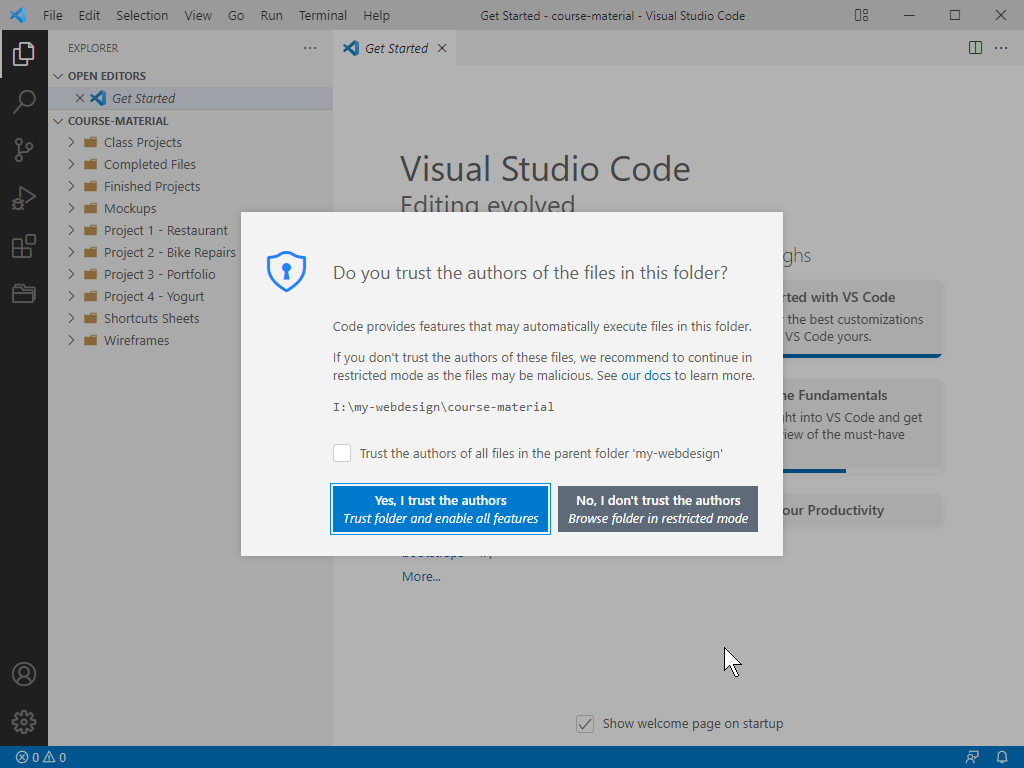
I assume you have no workspace created yet, you will see this:
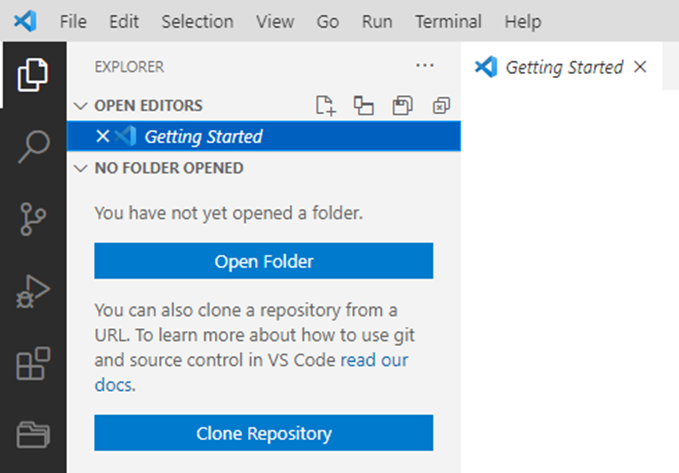
In this case you click on the blue Open folder button.
After that you go to the root-directory of the test environment you have set up.
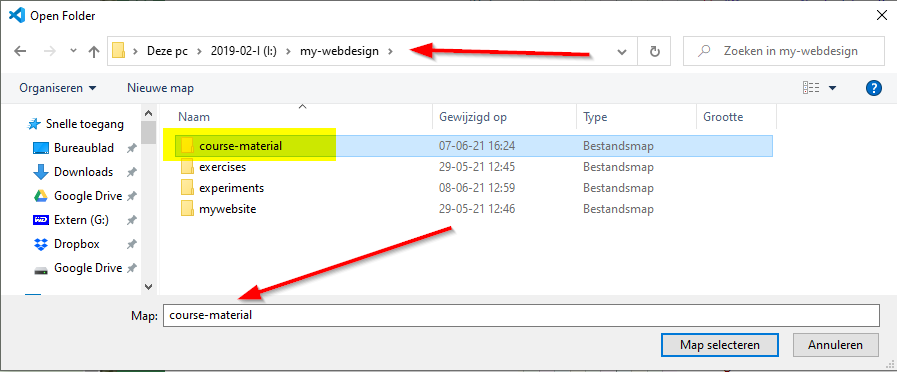
Make sure you select the course-material directory in the maps field and click on select map. You might get the next message:
Second (in case you already had a directory open and thus a workspace):
If you already had 1 or more workspaces, your screen will look slightly different, maybe something like:
7.3. VSCode, Saving / Opening a VSCode Workspace.
After creating a VSCode Workspace, you can save that as a special workspace-file with the menu action File - Save Workspace as...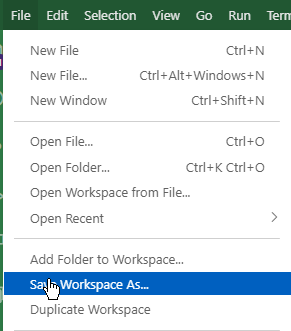
How to find a certain setting in Visual Studio Code?
You already saw there is a menu under "Commonly Used". Except from that, there is also a search bar near the top of the settings tab.
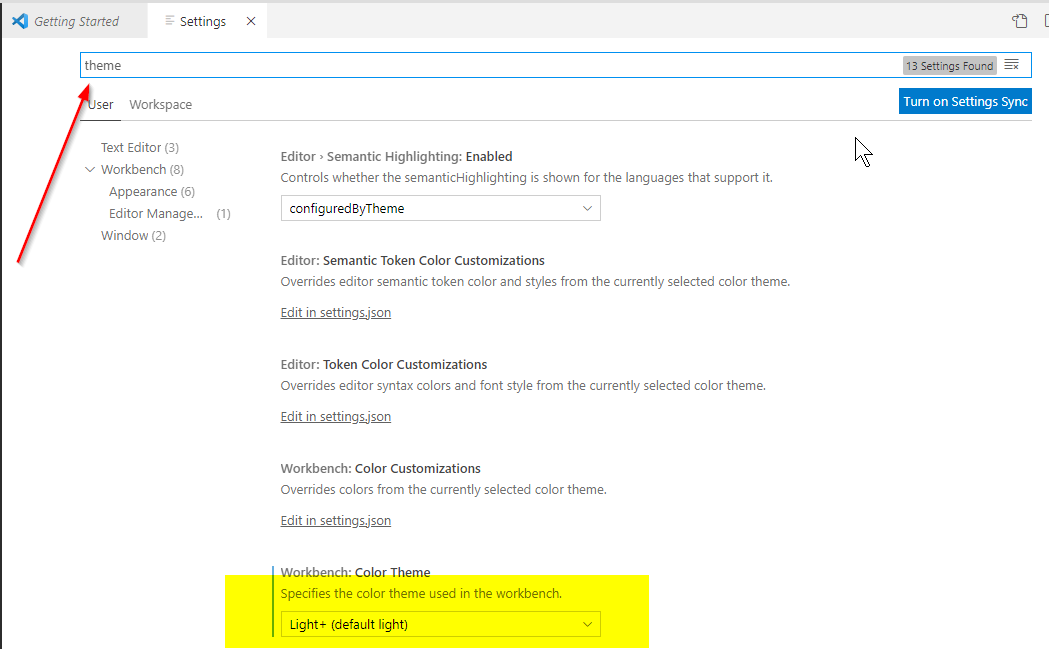
In this example I searched for theme, to show you what theme I
use for Visual Studio Code.
While typing theme you will notice that as soon as you start
typing, VSCode tries to complete the text and give you its results.
So it might not be necessary to type the complete text you are
looking for.
As you see I use the default light theme for VSCode.