
Table of contents :
4: Change HTML and CSS.
With Chrome DevTools we can not only inspect our webpage, but we can also temporarely change the HTML and/or the CSS of the page.Before we start, remember this:
Whatever you change in the HTML or styles inside the page with DevTools, those changes are lost, as soon as your browser reloads the page.
Reloading can be done by you, deliberately, but it can also be done by the browser, because the file or directory is being watched for changes.
(for more about watching see: Stylesheets and Defaults. )
So make sure you know the temporary changes you made, are written down somewhere, or saved outside DevTools, before reloading the page you are working on.
We will first start with looking at the HTML.
4.1.: Change the HTML of a webpage with Chrome DevTools.
For this we will go back to the example we used before. You can (temporarely) edit the HTML: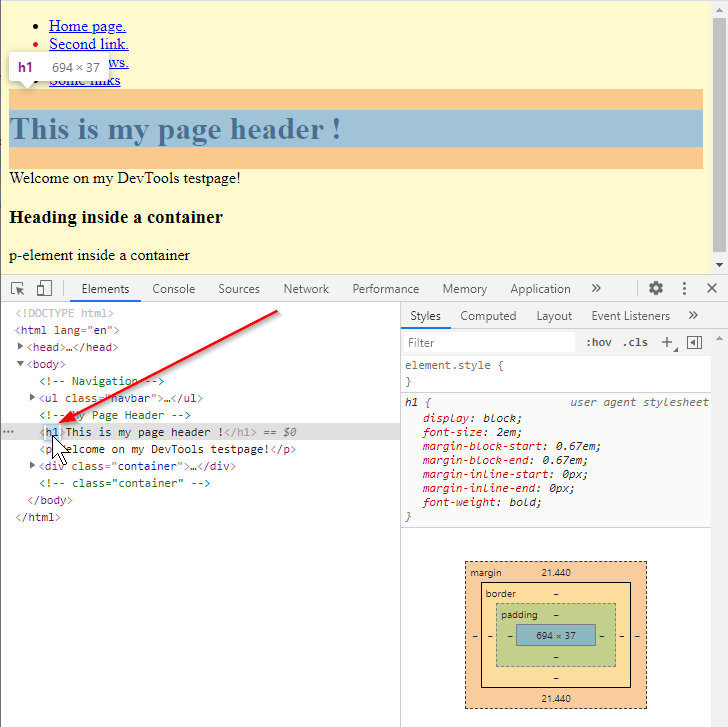
With Chrome Devtools we can change many things in the HTML of the page: Add another class, remove a class, change a class. We can change text. But there is more, look at this screenshot:
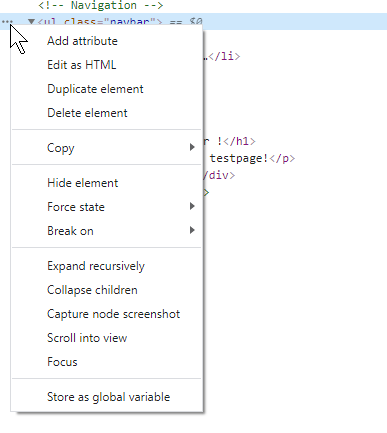
- Add an attribute to the selected element.
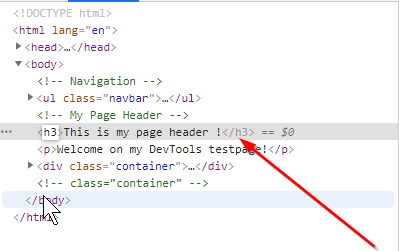
- Edit as Html This opens the element and all its siblings inside a separate box, so you can edit whatever you want. This also gives you the opportunity to copy part of it to use that somewhere else. Try it out to see what it does.
- Duplicate element When you have selected a li-element for instance it gives you another empty li one in front of the selected one.
- Delete element. Does what it says so carefull with this one.
-
Copy is a submenu:
Popup menu in elements pane, Copy entry. Popup menu in elements pane, Copy entry.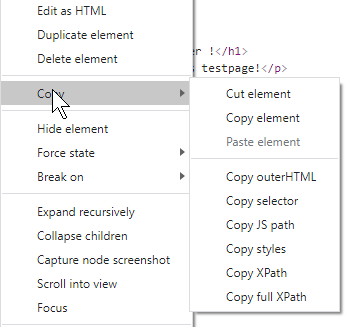
-
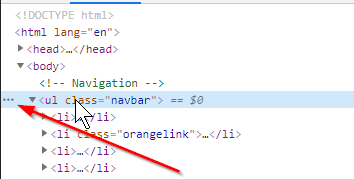
Hide element In the example the second li-element is hidden with
this command, this is the result:
Popup menu in elements pane, Hide entry. Popup menu in elements pane, Hide entry.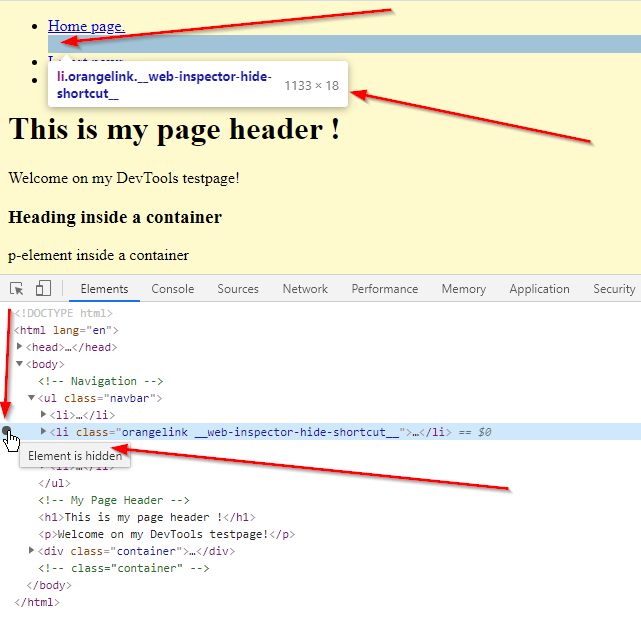
-
Force state is also a submenu:
Popup menu in elements pane, Force state entry. Popup menu in elements pane, Force state entry.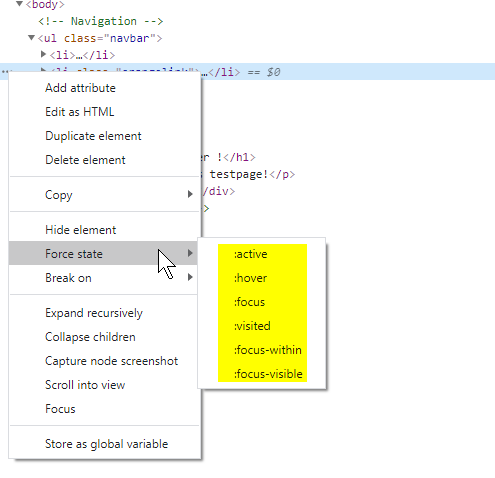
Suppose you have defined different styles for the :active state of a menu for instance, than setting this Force state to :active, forces all styles you defined for the :active state, to be visible in the styles pane so you can inspect them! -
Break on This has to do with debugging and breakpoints in.
Javascript. So far I did not use that but there is more information
about it here:
Javascript: Pause your code with breakpoints." - Expand recursively expands all siblings of the selected element.
- Collapse Children The opposite of Expand recursively, so it collapses all children, just as it said.
-
Capture node screenshot takes a screenshot of the selected node.
See:
Hidden Gem: Take screenshots using built-in commands in Chrome/Edge.
for more ways to take screenshots. - Scroll into view Pressing this, scrolls the selected element into view on the webpage itself. Which is especially handy on long webpages.
- Focus so far could not find an explanation for that.
- Store as global variable, Used when debugging javascript.
-
Show webpage as on mobile screens.
Showing webpage on different devices. Showing webpage on different devices.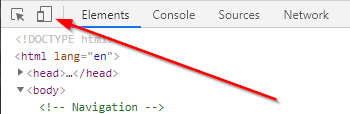
Showing webpage on different devices 2. Showing webpage on different devices, here on mobile.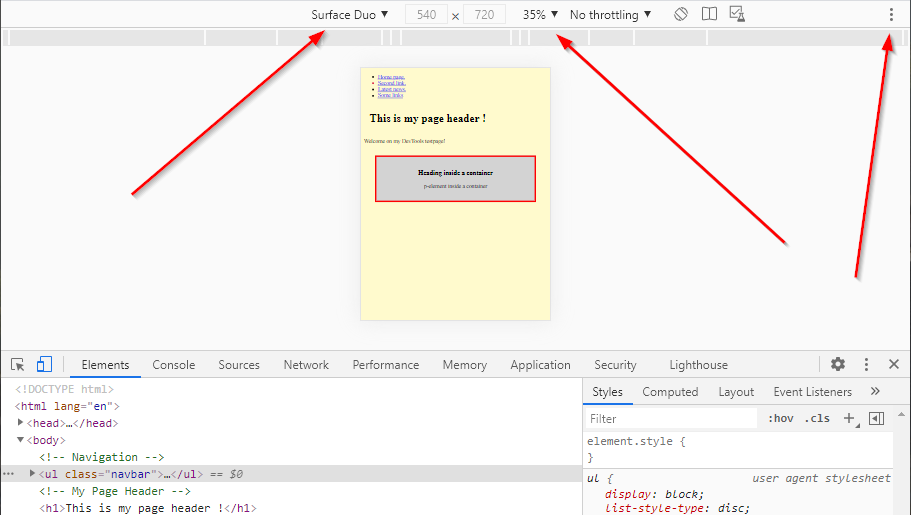
4.2.: Change the CSS of a webpage with Chrome DevTools.
What we did with the HTML in the previous sub-chapter, we can also do with the styles in the styles pane. But before we do that first look at some styling and colors in the style pane, that have a special meaning: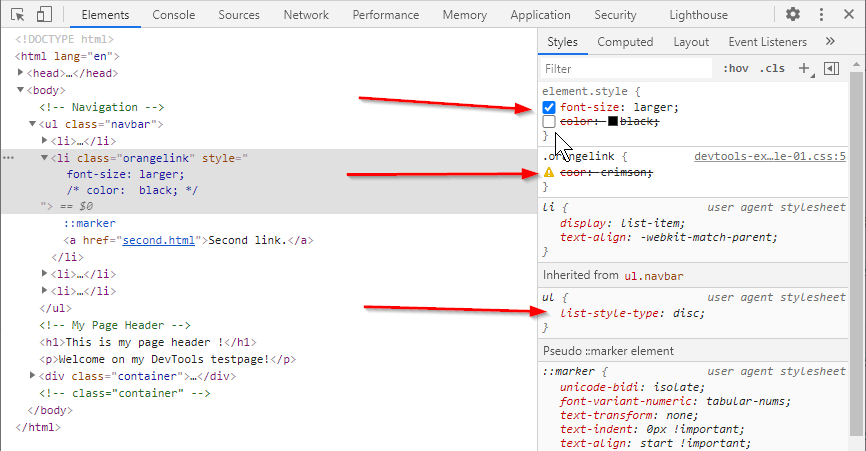
- The blue square with the mark inside, means you can mark or unmark this property, that way switching it on or off. It appears as you hover your mouse over the property. If no marks appear, the property can not be switched off. Empty squares mean the property is switched off. It will be striked through then too.
- The yellow triangle with the exclamationmark, means this is a non-existing property, or some other error in the declaration. (here it should have been color, not coor)
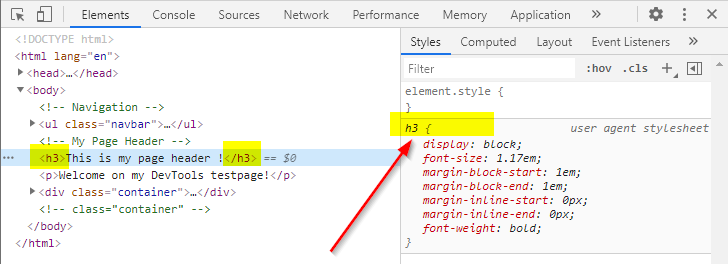
- The gray background of this class ul means it is specified in the user agent stylesheet and is not editable.
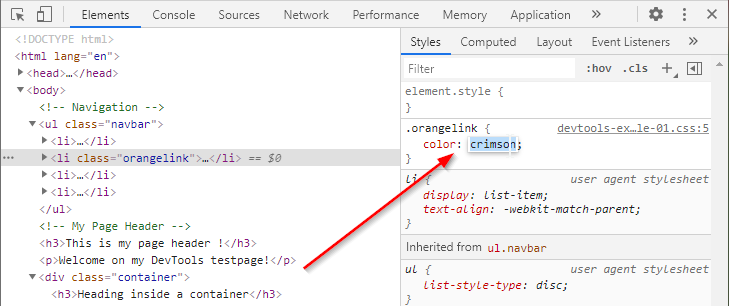
How to edit a property?
Clicking on a property in the styles pane, makes that property editable, you can see it because it turns blue:
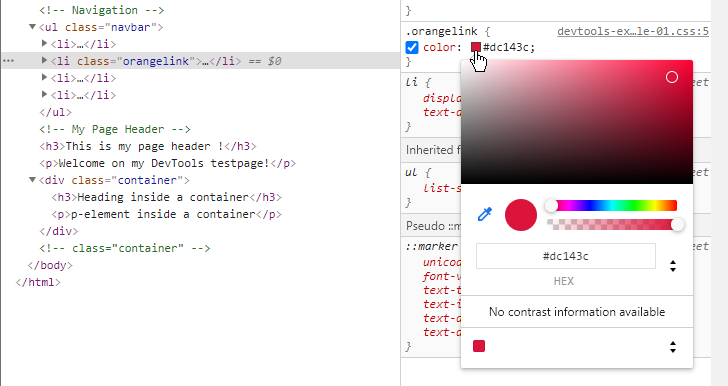
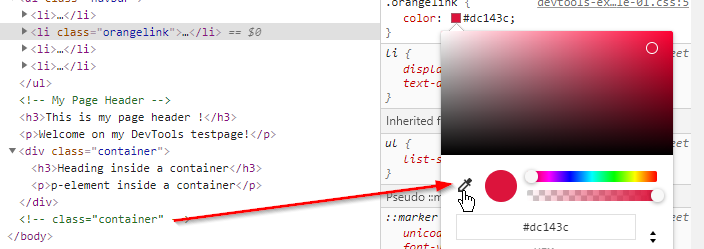
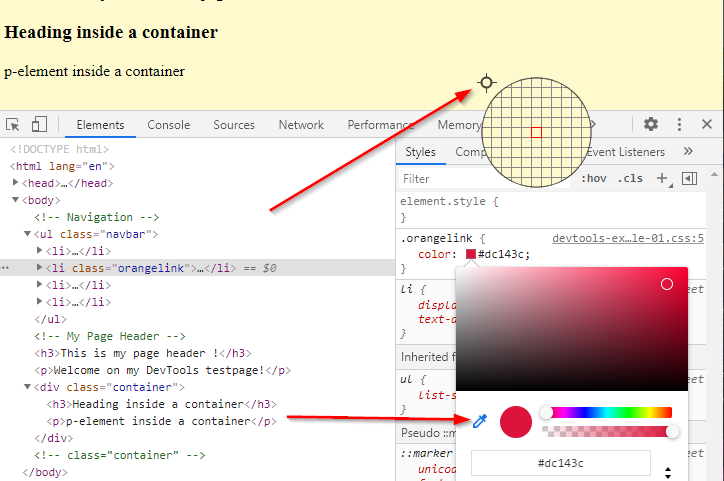
Not only are there a lot of sliders and buttons to get to the color you want, but you can also click on the little Eyedropper:
When you click on the :hov in the styles tab, as in the next screenshot you get:
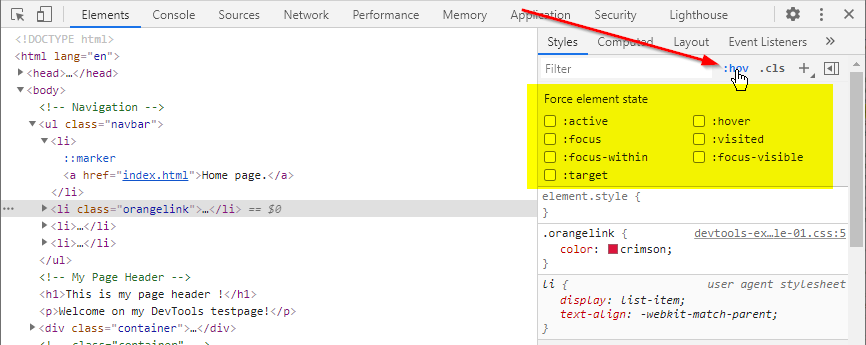
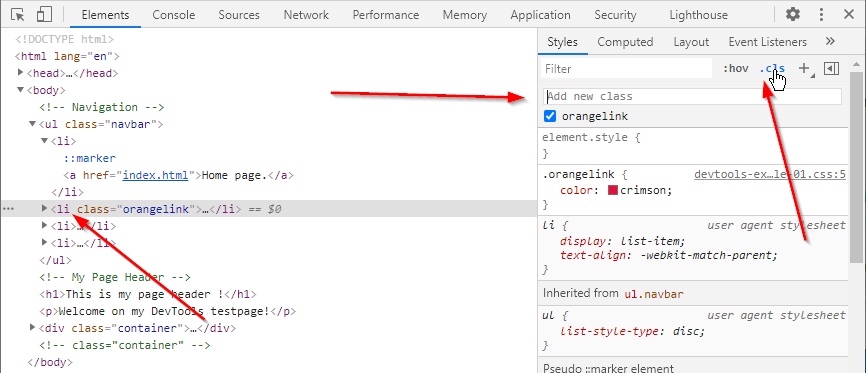
With the little +-sign to the right of it, you can add a rule. You can experiment with all that with the DevTools example.
In the next screenshot, look at the styling for the selected li-element:
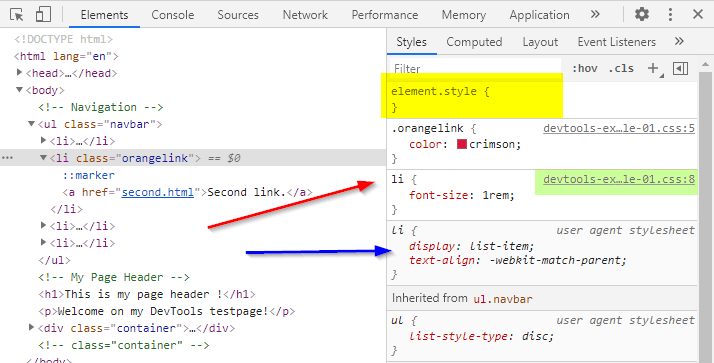
- At the red arrow you see the property Font-size. This styling comes from the stylesheet: devtools-example-01.css. (highlighted in green) These styles can be edited.
- At the blue arrow you see 2 properties coming from the user-agent stylesheet, those are not editable.
- Highlighted in yellow, you see an empty: element.style This styling is always present with every element. It is an empty placeholder for styling you want to add for testing purposes.
You can add or edit styles at the red arrow. If you change anything there, the styling changes are valid For each and every li-element on this page.
That might not be what you want. You might only want to change this special li-element, and none of the other li-elements on this page. If that is what you want, you have to add and change styling in the empty element.style highlighted in yellow. Styling that is added there is only valid for the element it belongs to, in this case the selected li-element. It is written in the webpage source as an inline style.